Welcome to Mocha! This guide will walk you through creating and customizing your first AI-powered website. Let’s get started!

Create Your First Project

1

Sign Up

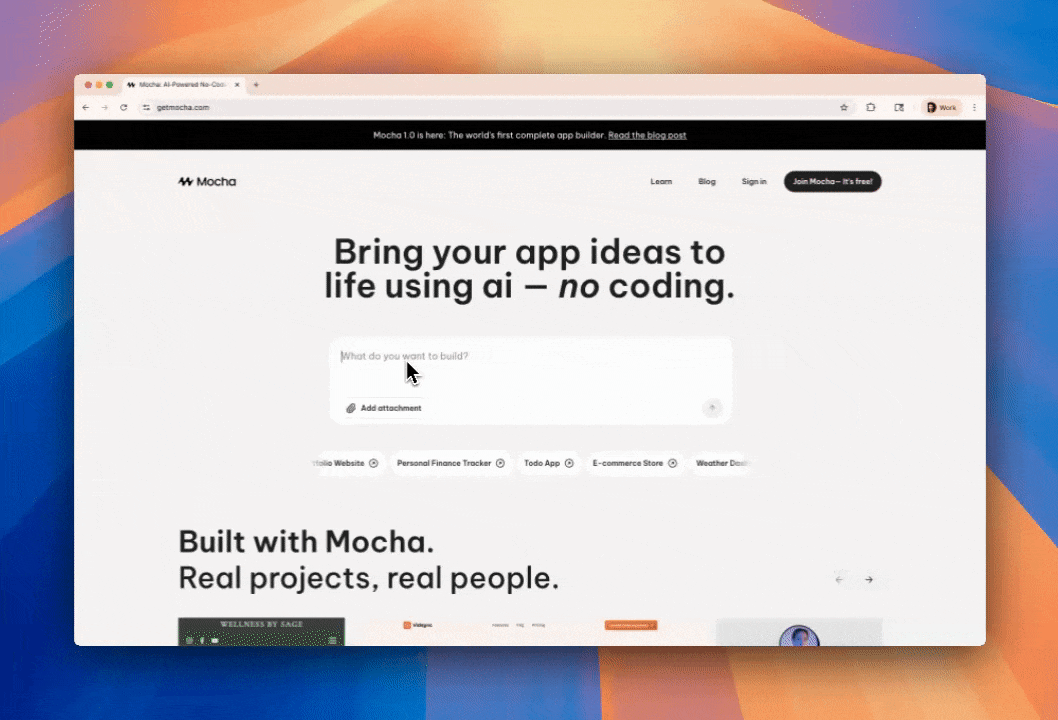
Head over to getmocha.com and create your free account. The signup process is quick and straightforward.

2

Create Your Project

Once registered, you can create your first project. Simply enter a prompt describing what you want to build, and Mocha’s AI will handle the rest.

Watch how easy it is to create a new project with Mocha

3

Wait for Generation

Hang tight! It takes a couple of minutes for the AI to build the first version of your site. The AI is carefully crafting your website’s code, design, and content.

Example of the previous website created with Mocha

Customize Your Website

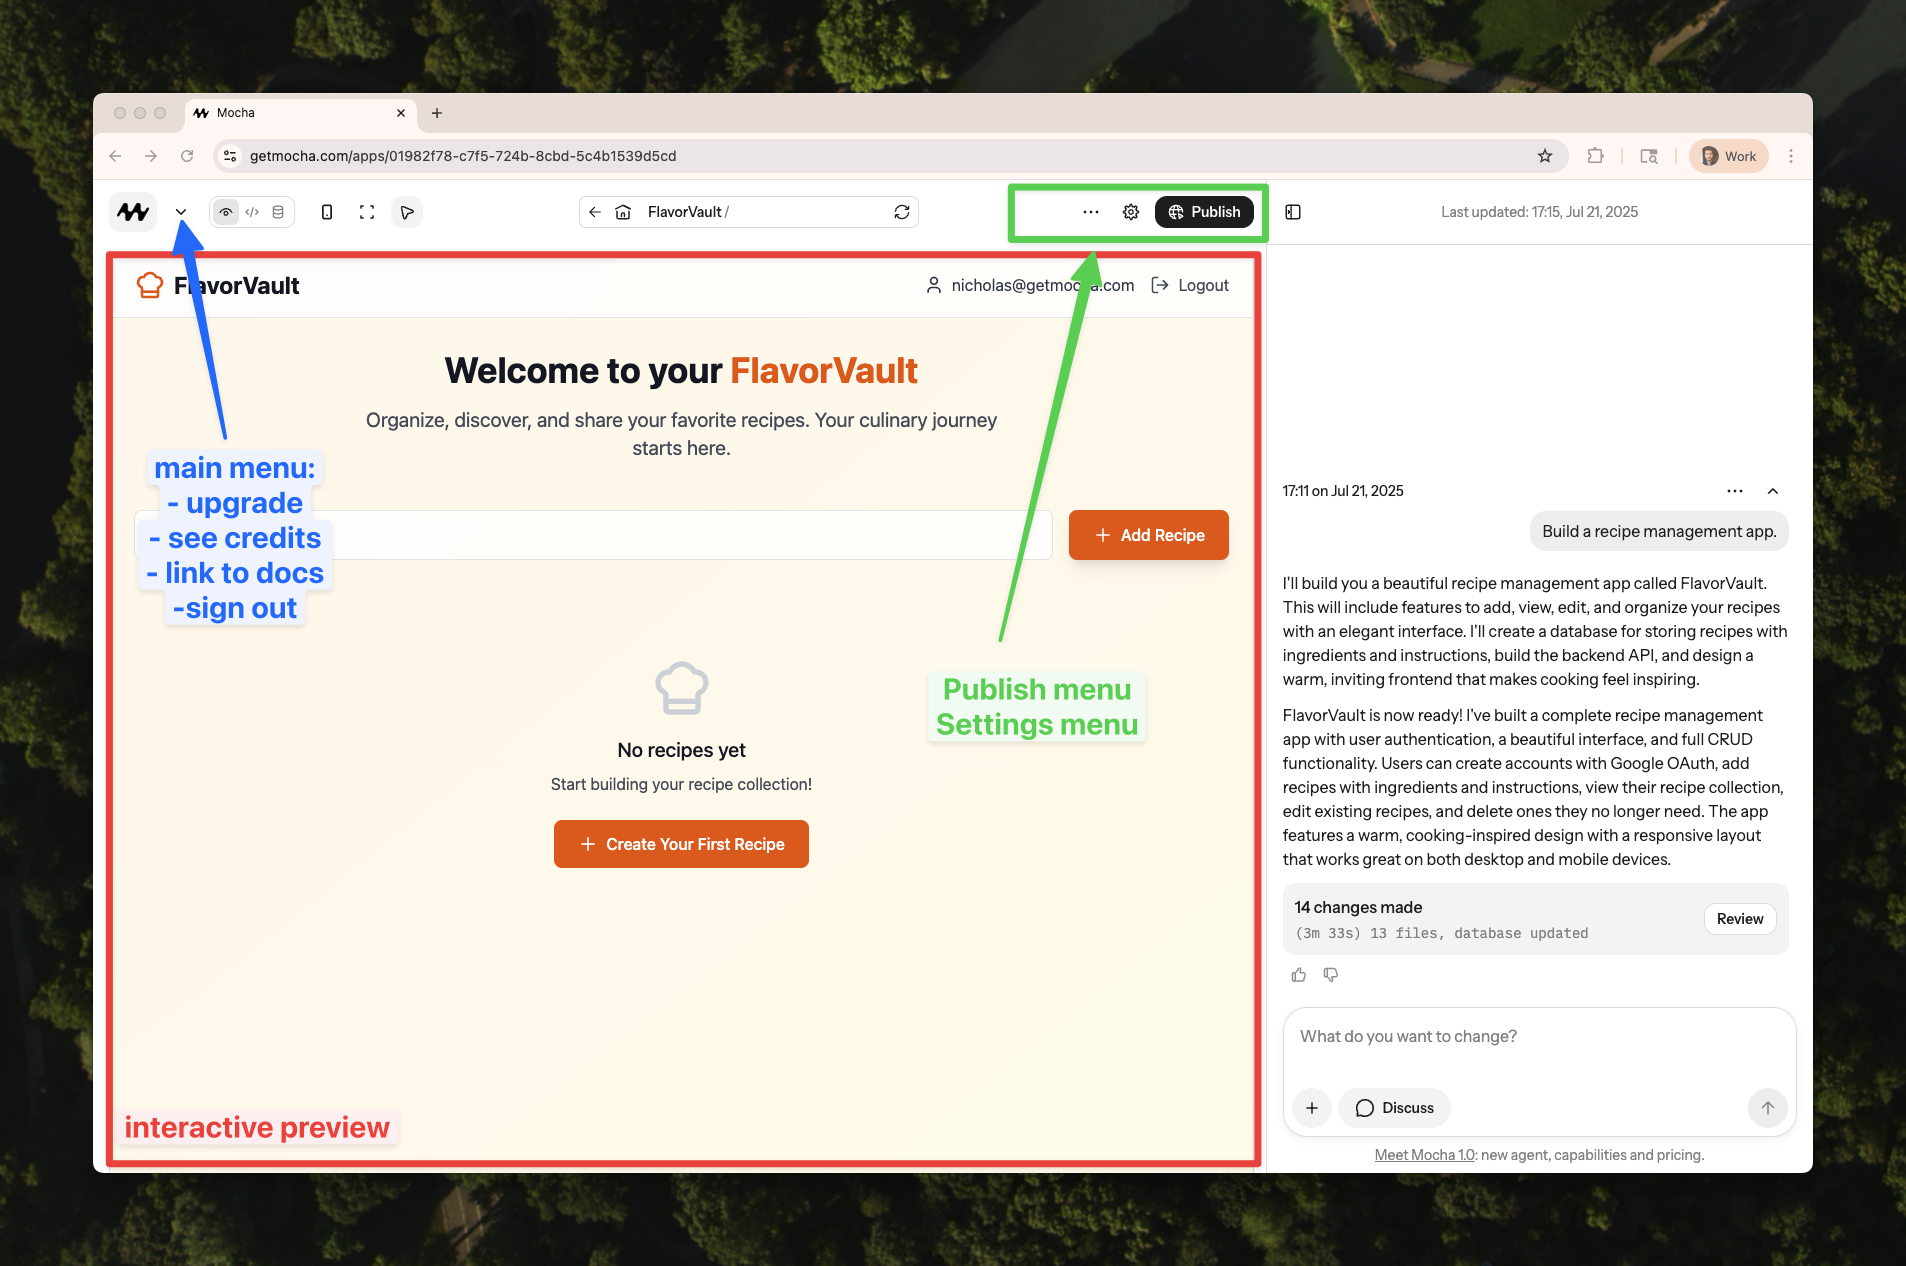
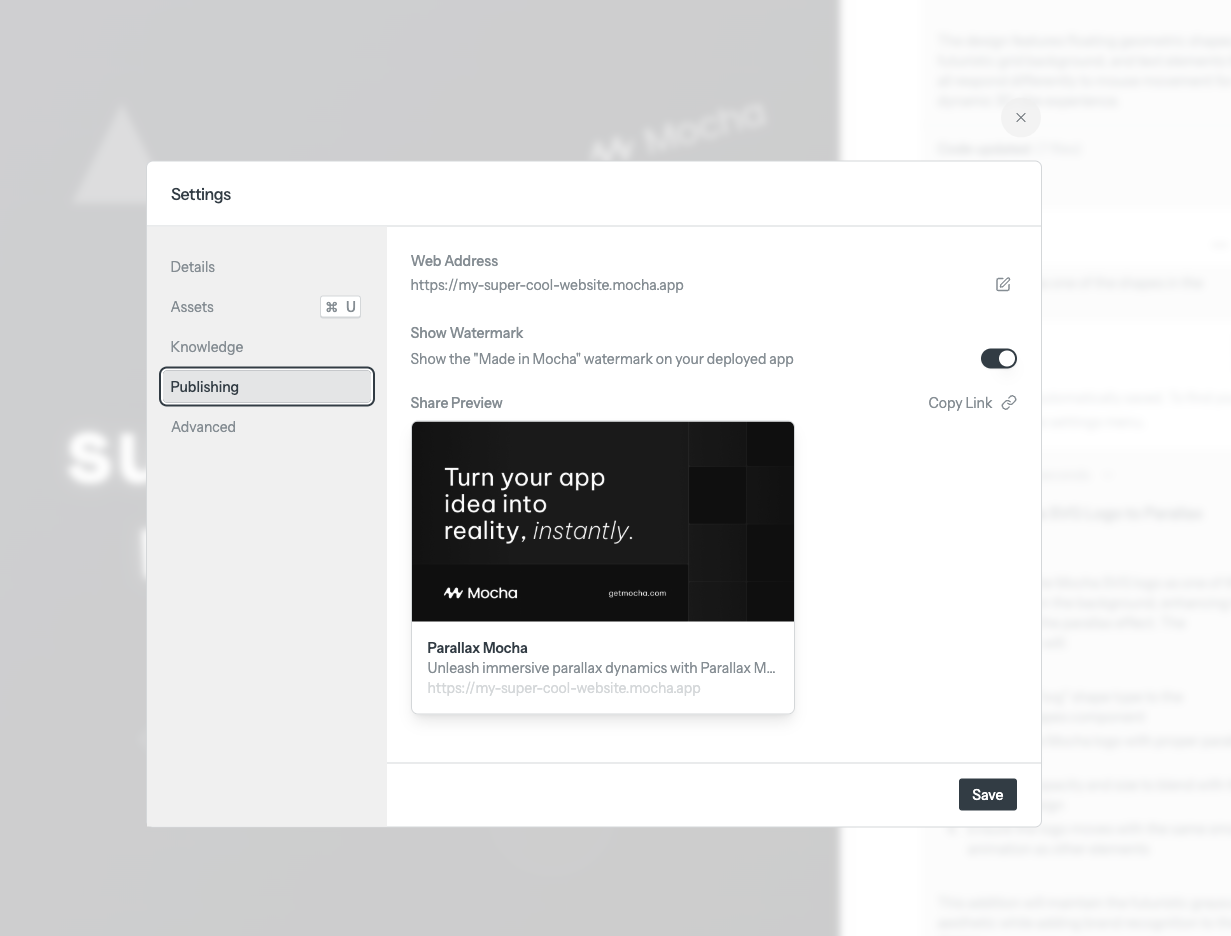
Below is an overview of the Mocha interface. The main menu on the top left allows you to see your user, number of messages remaining, billing status, and more.

On the right side, you can see the chat interface, where you can ask the AI to make changes to your website.

In the center, you can see the website preview, where you can see and interact with the current state of your website.

In the top nav, you can find the page you’re currently navigating on, and access to the project settings where you can change the project name, description, custom knowledge, and sharing settings.

Interface overview of Mocha

AI Chat Assistant

Use the chat panel on the right to make changes to your website. Ask for new features, design updates, or any modifications you’d like to make.

Image Integration

Attach images in the chat to show the AI exactly what you want. For example:

  • “Make it look like this” (with a screenshot)
  • “Use this as the background”
  • “Add this image to the hero section”

Interactive Features

Publishing Your Website

1

One-Click Deployment

Publish your website to the web with a single click. Your site will be available at a unique mocha.app subdomain.

2

Custom Domains

Available on Pro tiers (Bronze, Silver, Gold)
Upgrade to a Pro tier to:

  • Use custom subdomains (e.g., my-super-app.mocha.app)
  • Connect your own custom domain (coming very soon)
3

Share with the World

That’s it! Your website is live and ready to share. Send the link to friends, post it on social media, or add it to your portfolio.

One-click deployment makes publishing your website effortless

Advanced Features

Project Settings

Customize your project through the settings panel:

  • Change project name and description
  • Add custom knowledge
  • Configure sharing settings

Multi-Page Websites

Create additional pages by simply asking the AI:

  • “Add a profile page”
  • “Create a pricing page”
  • “Add a contact form page”

Social Media Integration

Make your website stand out on social media!

To update your website’s social media preview:

  1. Upload your desired image
  2. Ask Mocha: “Use this as the sharing preview when sharing the link on social media”

Example of a social media preview card

Next Steps

  • Try different AI prompts
  • Experiment with image uploads
  • Test the live preview