Why Stripe?
Stripe is an easy to use integration that gets you up and running and accepting payments in no time. You will be able to quickly set up a Stripe account that allows you to accept payments from all types of methods, including credit cards, debit cards, electronic wallets, and more. To get started, head on over to stripe.com and sign up for an account.Start your app on Mocha
The foundational prompt matters. When you first create your app on Mocha, make sure your genisis prompt is clear and precise. We want to use exact language to touch on all of the important aspects of the build, so be sure to provide as much detail as possible about what you are trying to build. In this example, we will be using the following prompt:- A clear description of the app’s purpose and audience
- Specific features broken down by role
- Technical requirements (Stripe, webhook handling)
- Experience expectations (smooth checkout flow)
Setting up the Stripe API Key
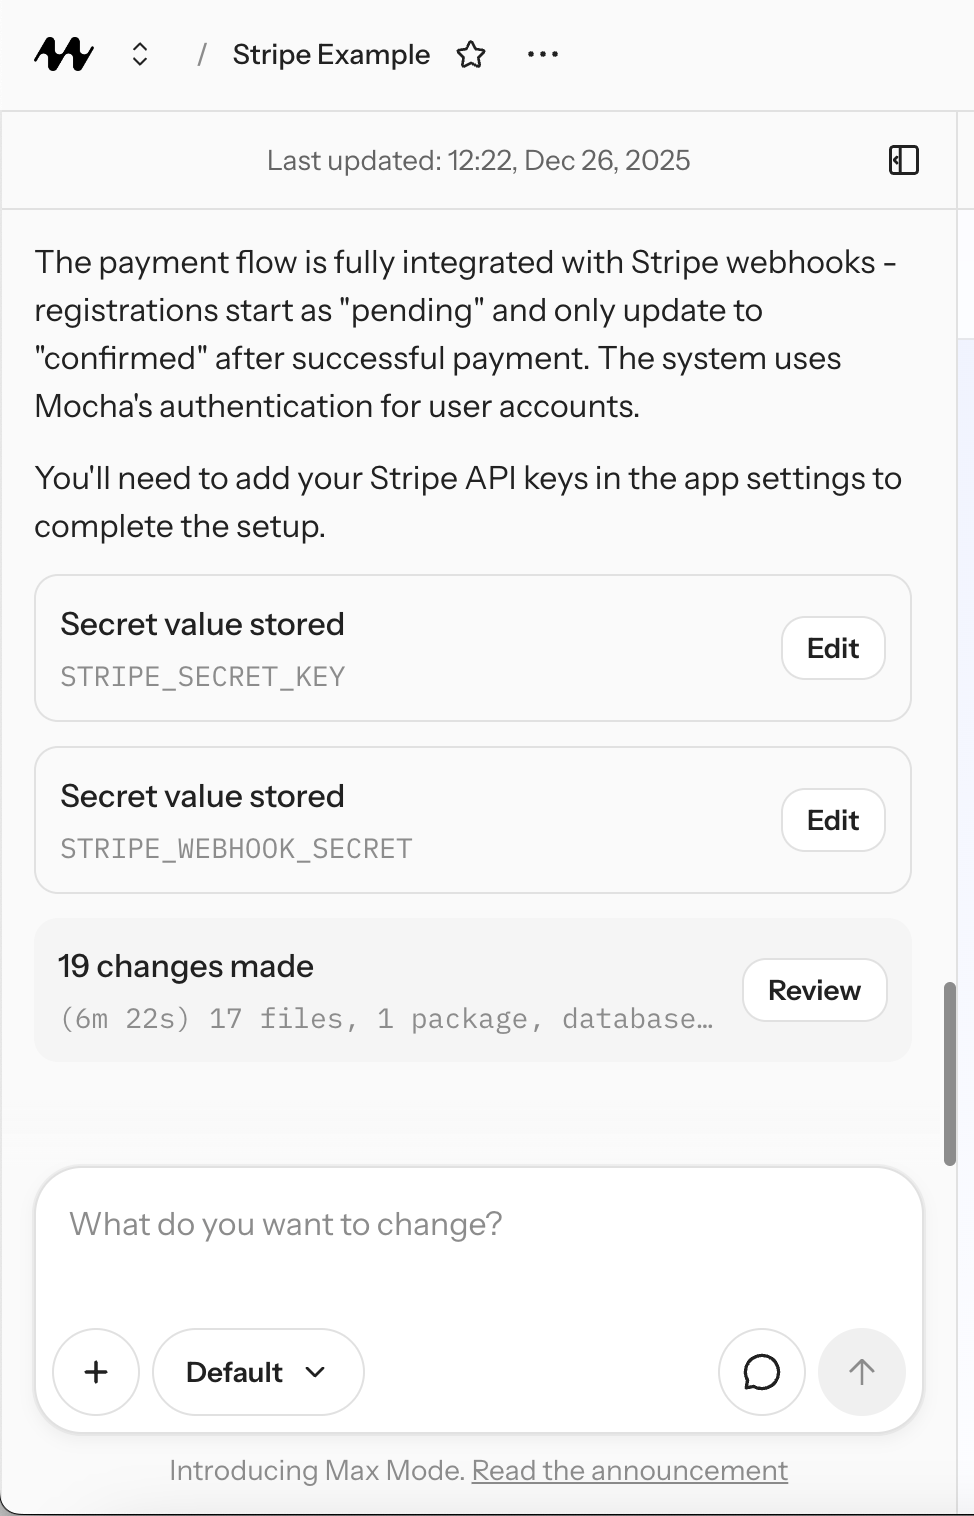
During the build, you should see a prompt to add secrets for Stripe. You’ll need:STRIPE_SECRET_KEYSTRIPE_WEBHOOK_SECRET
How to get your STRIPE_SECRET_KEY
- Visit dashboard.stripe.com
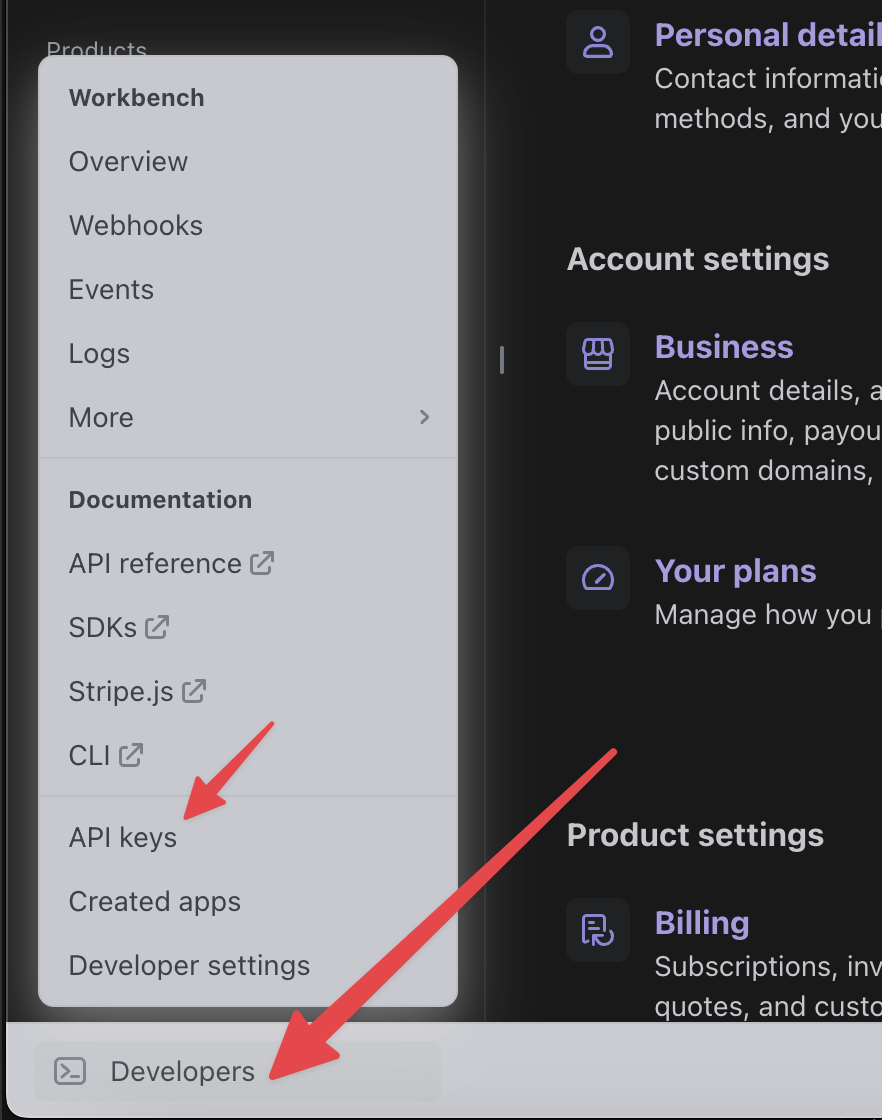
- Click on the Developers menu in the bottom left corner
- Click on the API keys option third from the bottom
- There you will be able to create a new “Secret key” by clicking the Create secret key button
- Copy the Secret key and paste it into the
STRIPE_SECRET_KEYfield in your Mocha app. The secret key should begin with the letterssk_live_.
Make sure it is the secret key, and not the publishable key. The publishable key starts with the letters
pk_live_ while the secret key starts with the letters sk_live_
Configuring Webhooks
This is the most involved piece of the setup. You will be asked to provide a webhook secret but you must first look for the webhook URL in your Mocha app. In order for Stripe to access your webhook URL, you will need to publish your app to the public internet.Publish your app first
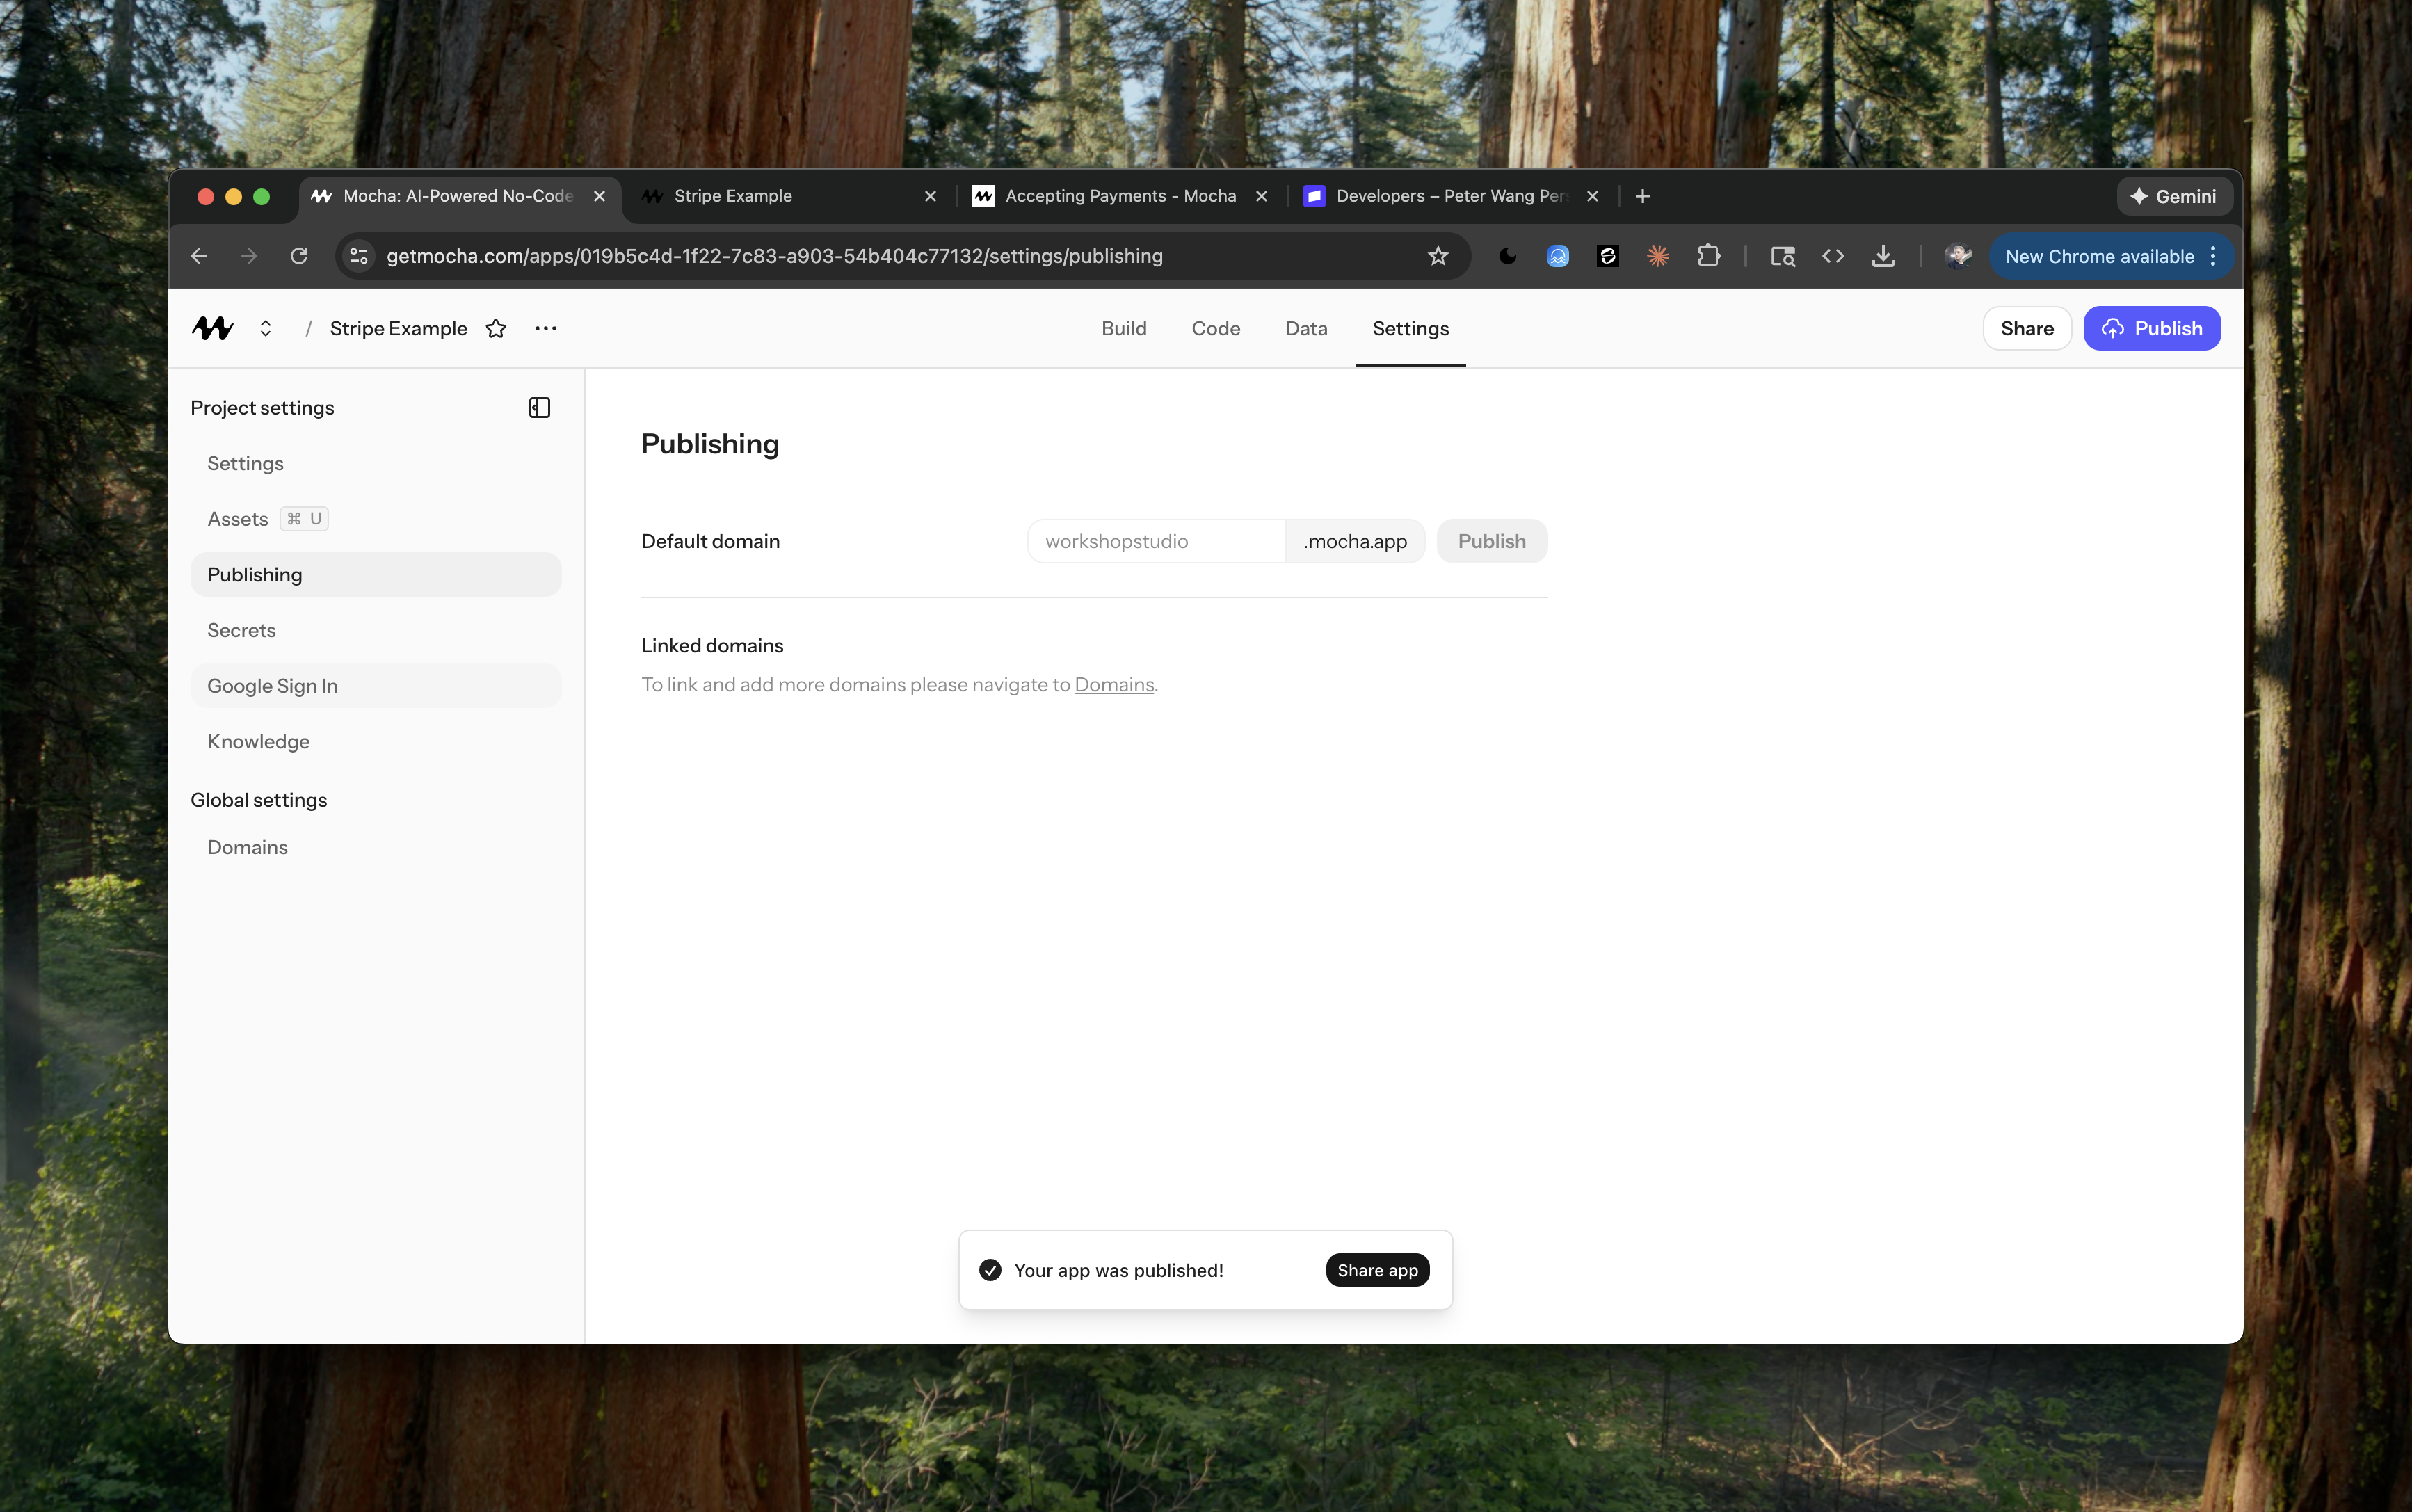
workshopstudio.mocha.app. If you are on a free plan, your app will be published to a random .mocha.app subdomain. Pay attention to what your URL is, because we will be using it to set up our webhook in Stripe.
Finding the webhook URL
Now go back to the Mocha chat log and find the part that mentions the webhook endpoint. It will look something like this: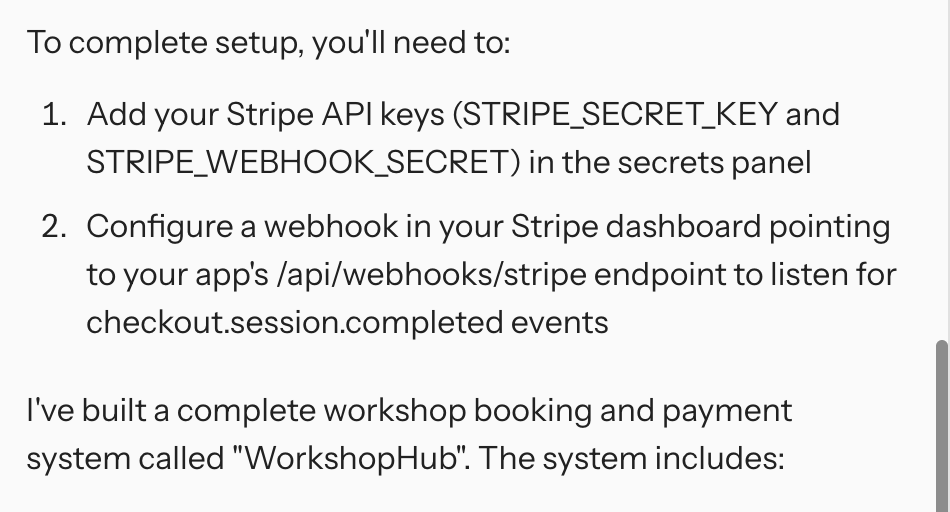
/api/webhooks/stripe endpoint. This is the URL that Stripe will use to send webhooks to your app.
Now take the published URL of your app and add the /api/webhooks/stripe endpoint to it. For example, if your app is published to https://workshopstudio.mocha.app, the full URL will be https://workshopstudio.mocha.app/api/webhooks/stripe. This is the URL that we will be using to set up our webhook in Stripe.
Setting up the webhook in Stripe
In the Stripe Dashboard:- Go to Developers → Webhooks
- Click Add destination
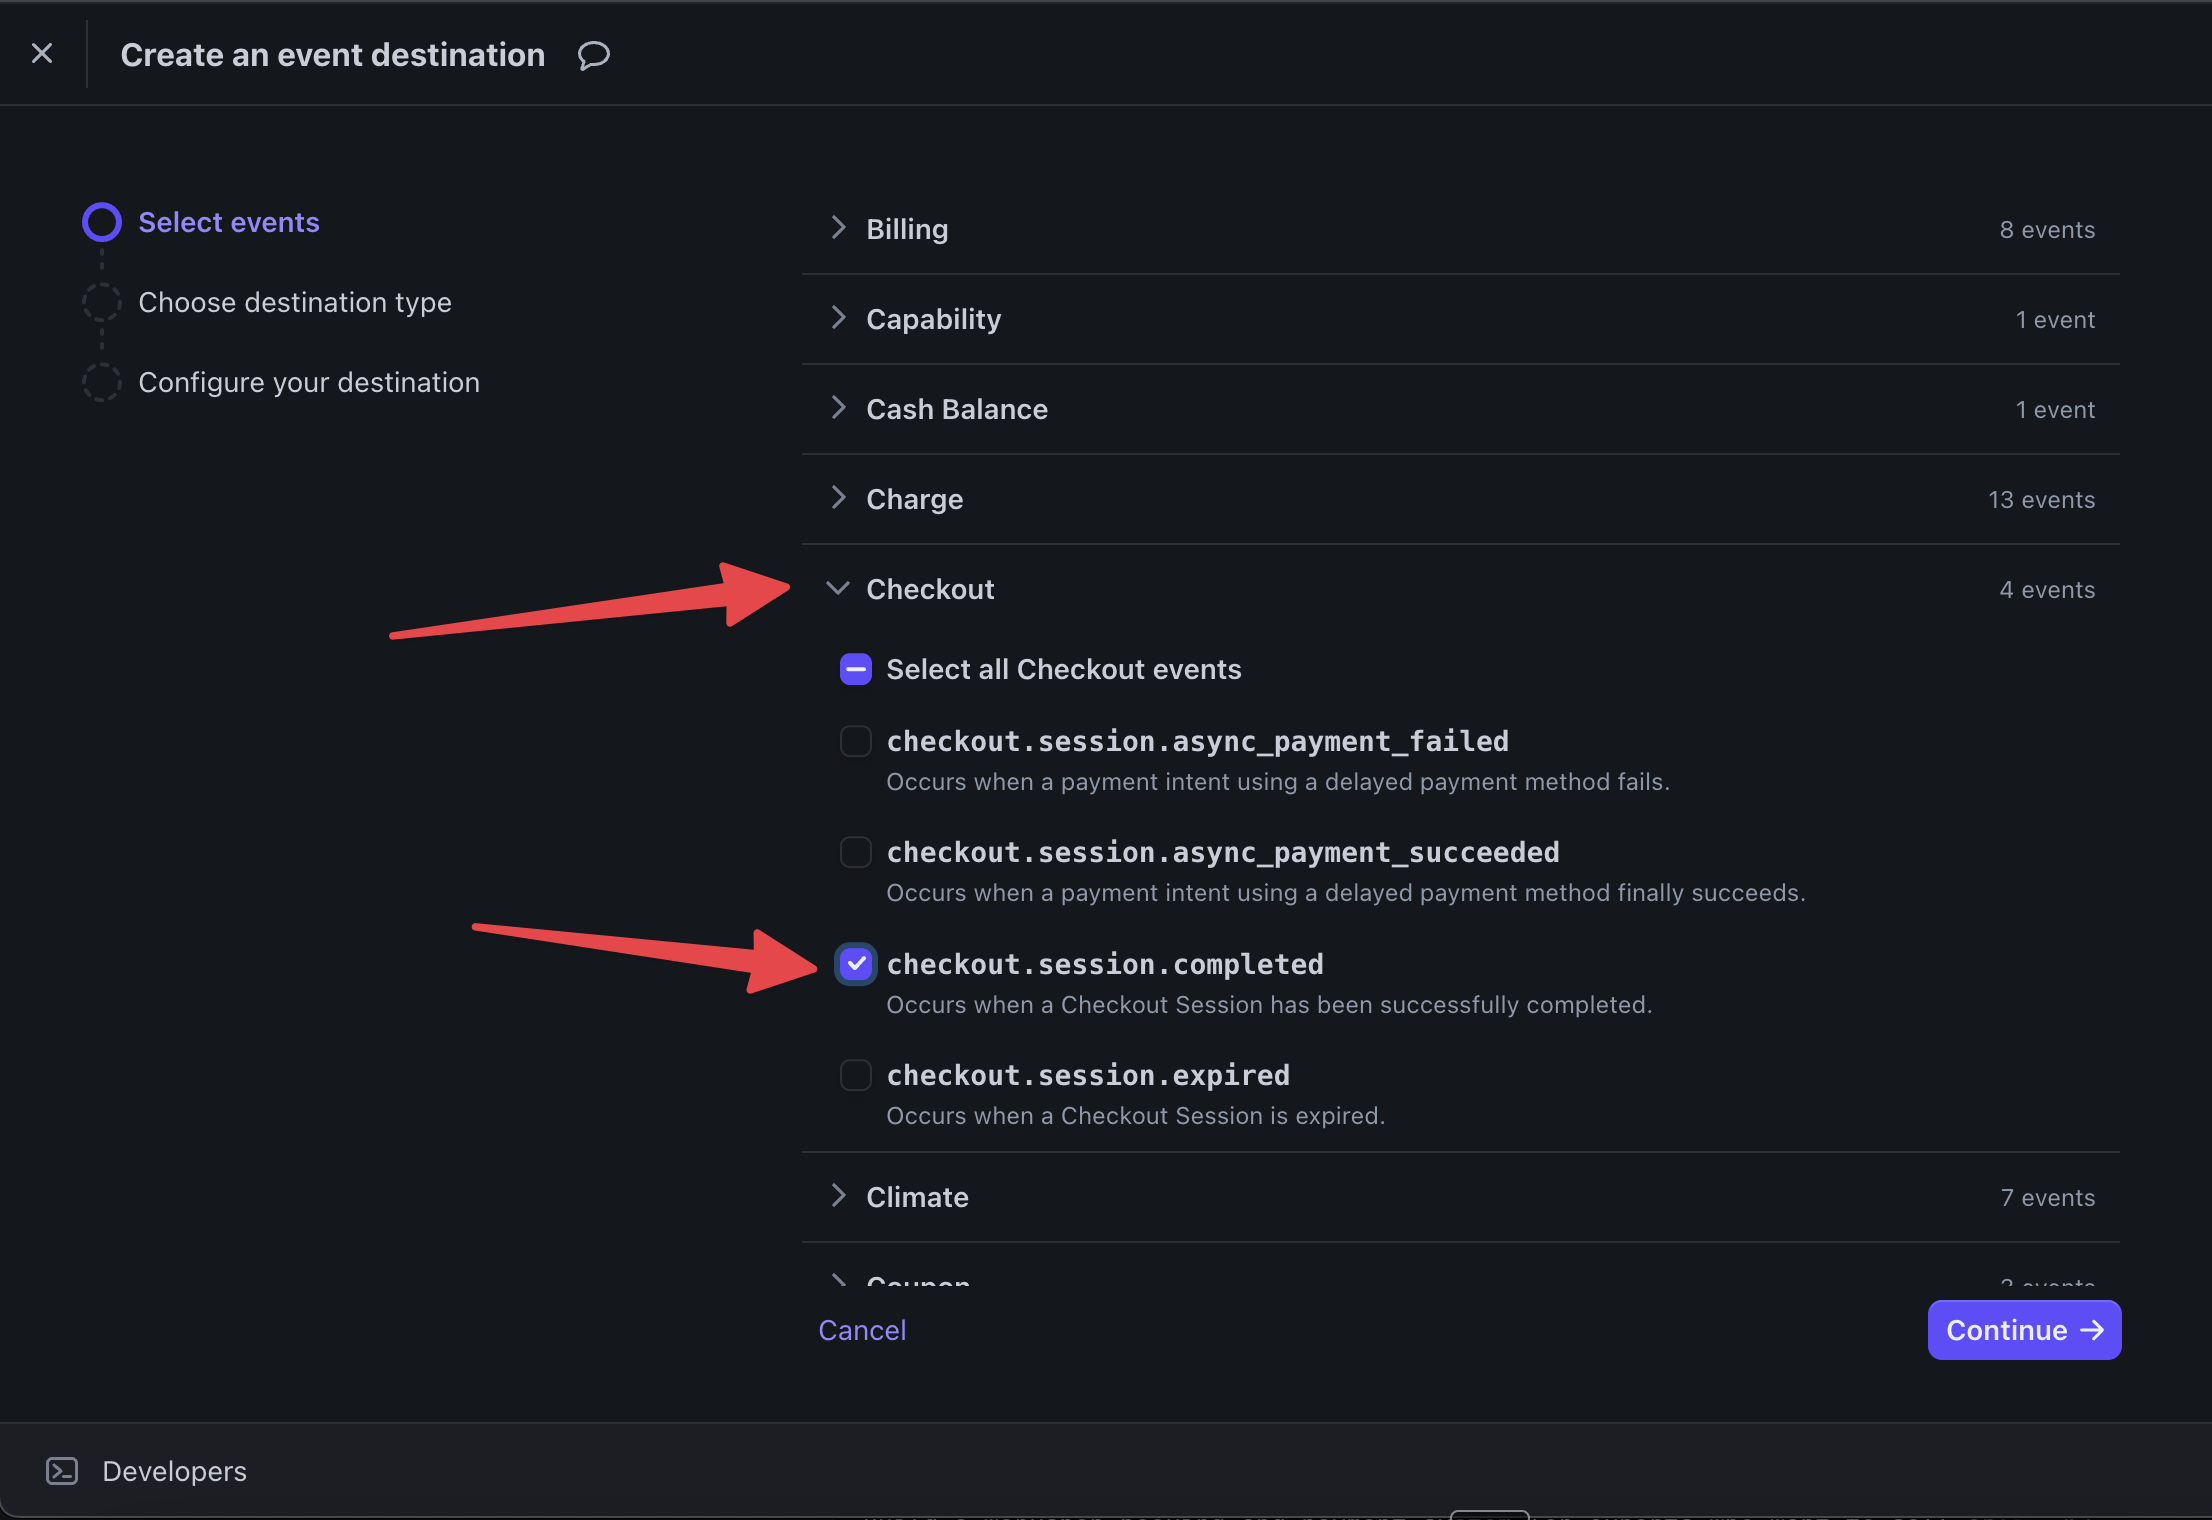
- Select events: In my example, the Mocha AI agent wanted me to listen for
checkout.session.completedevents. You can listen for other events as well, but for this example, we will be usingcheckout.session.completed.
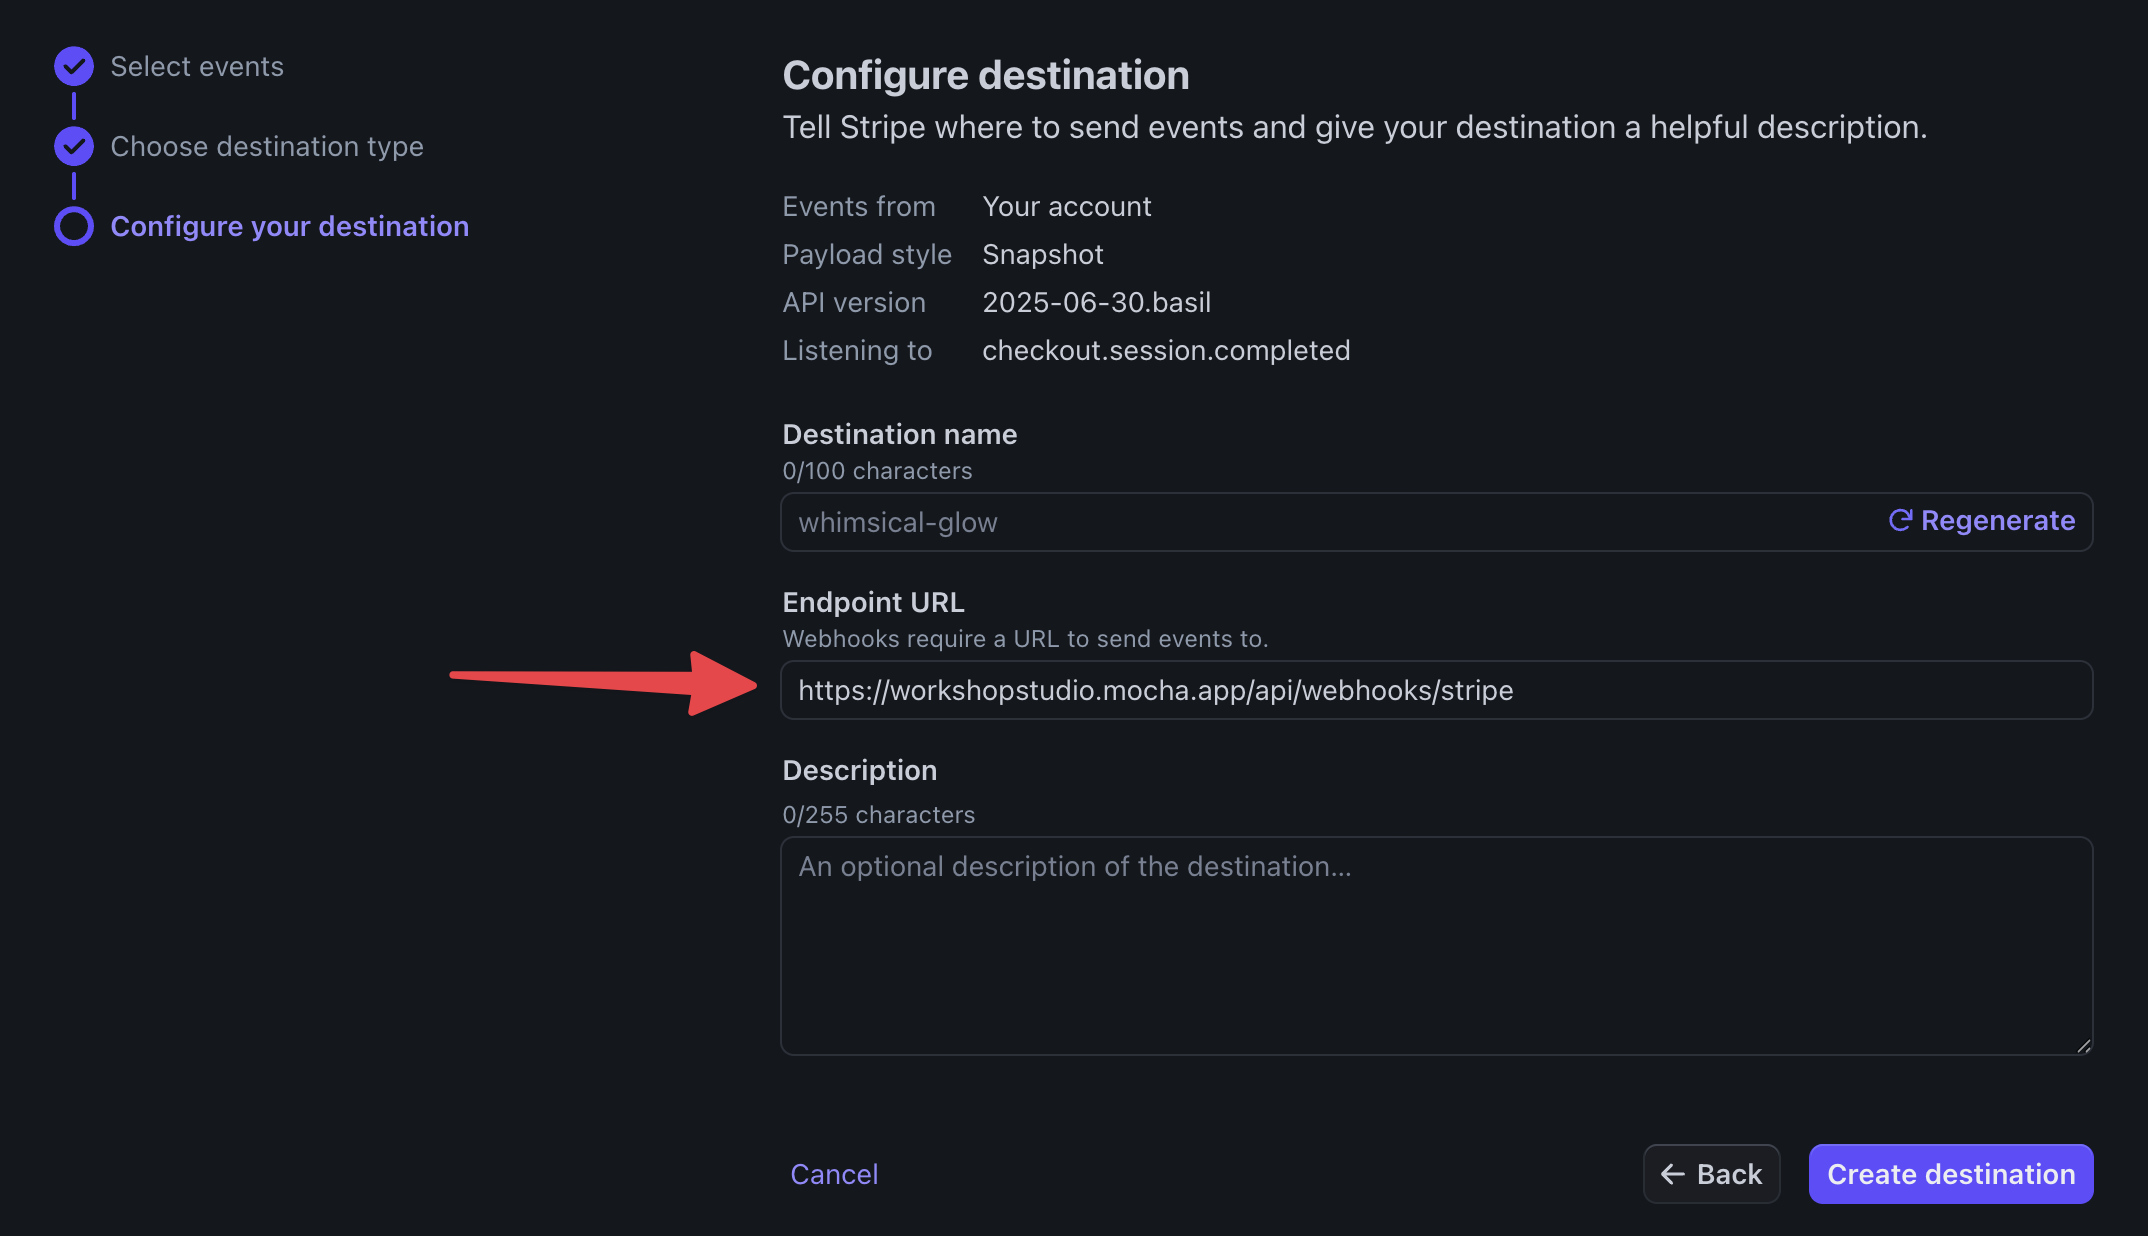
- Set the endpoint URL to your Mocha app’s webhook route (in my example, it is
https://workshopstudio.mocha.app/api/webhooks/stripe)
- Copy the Signing secret and paste it into the
STRIPE_WEBHOOK_SECRETfield in your Mocha app.
The webhook signing secret should begin with the letters
whsec_.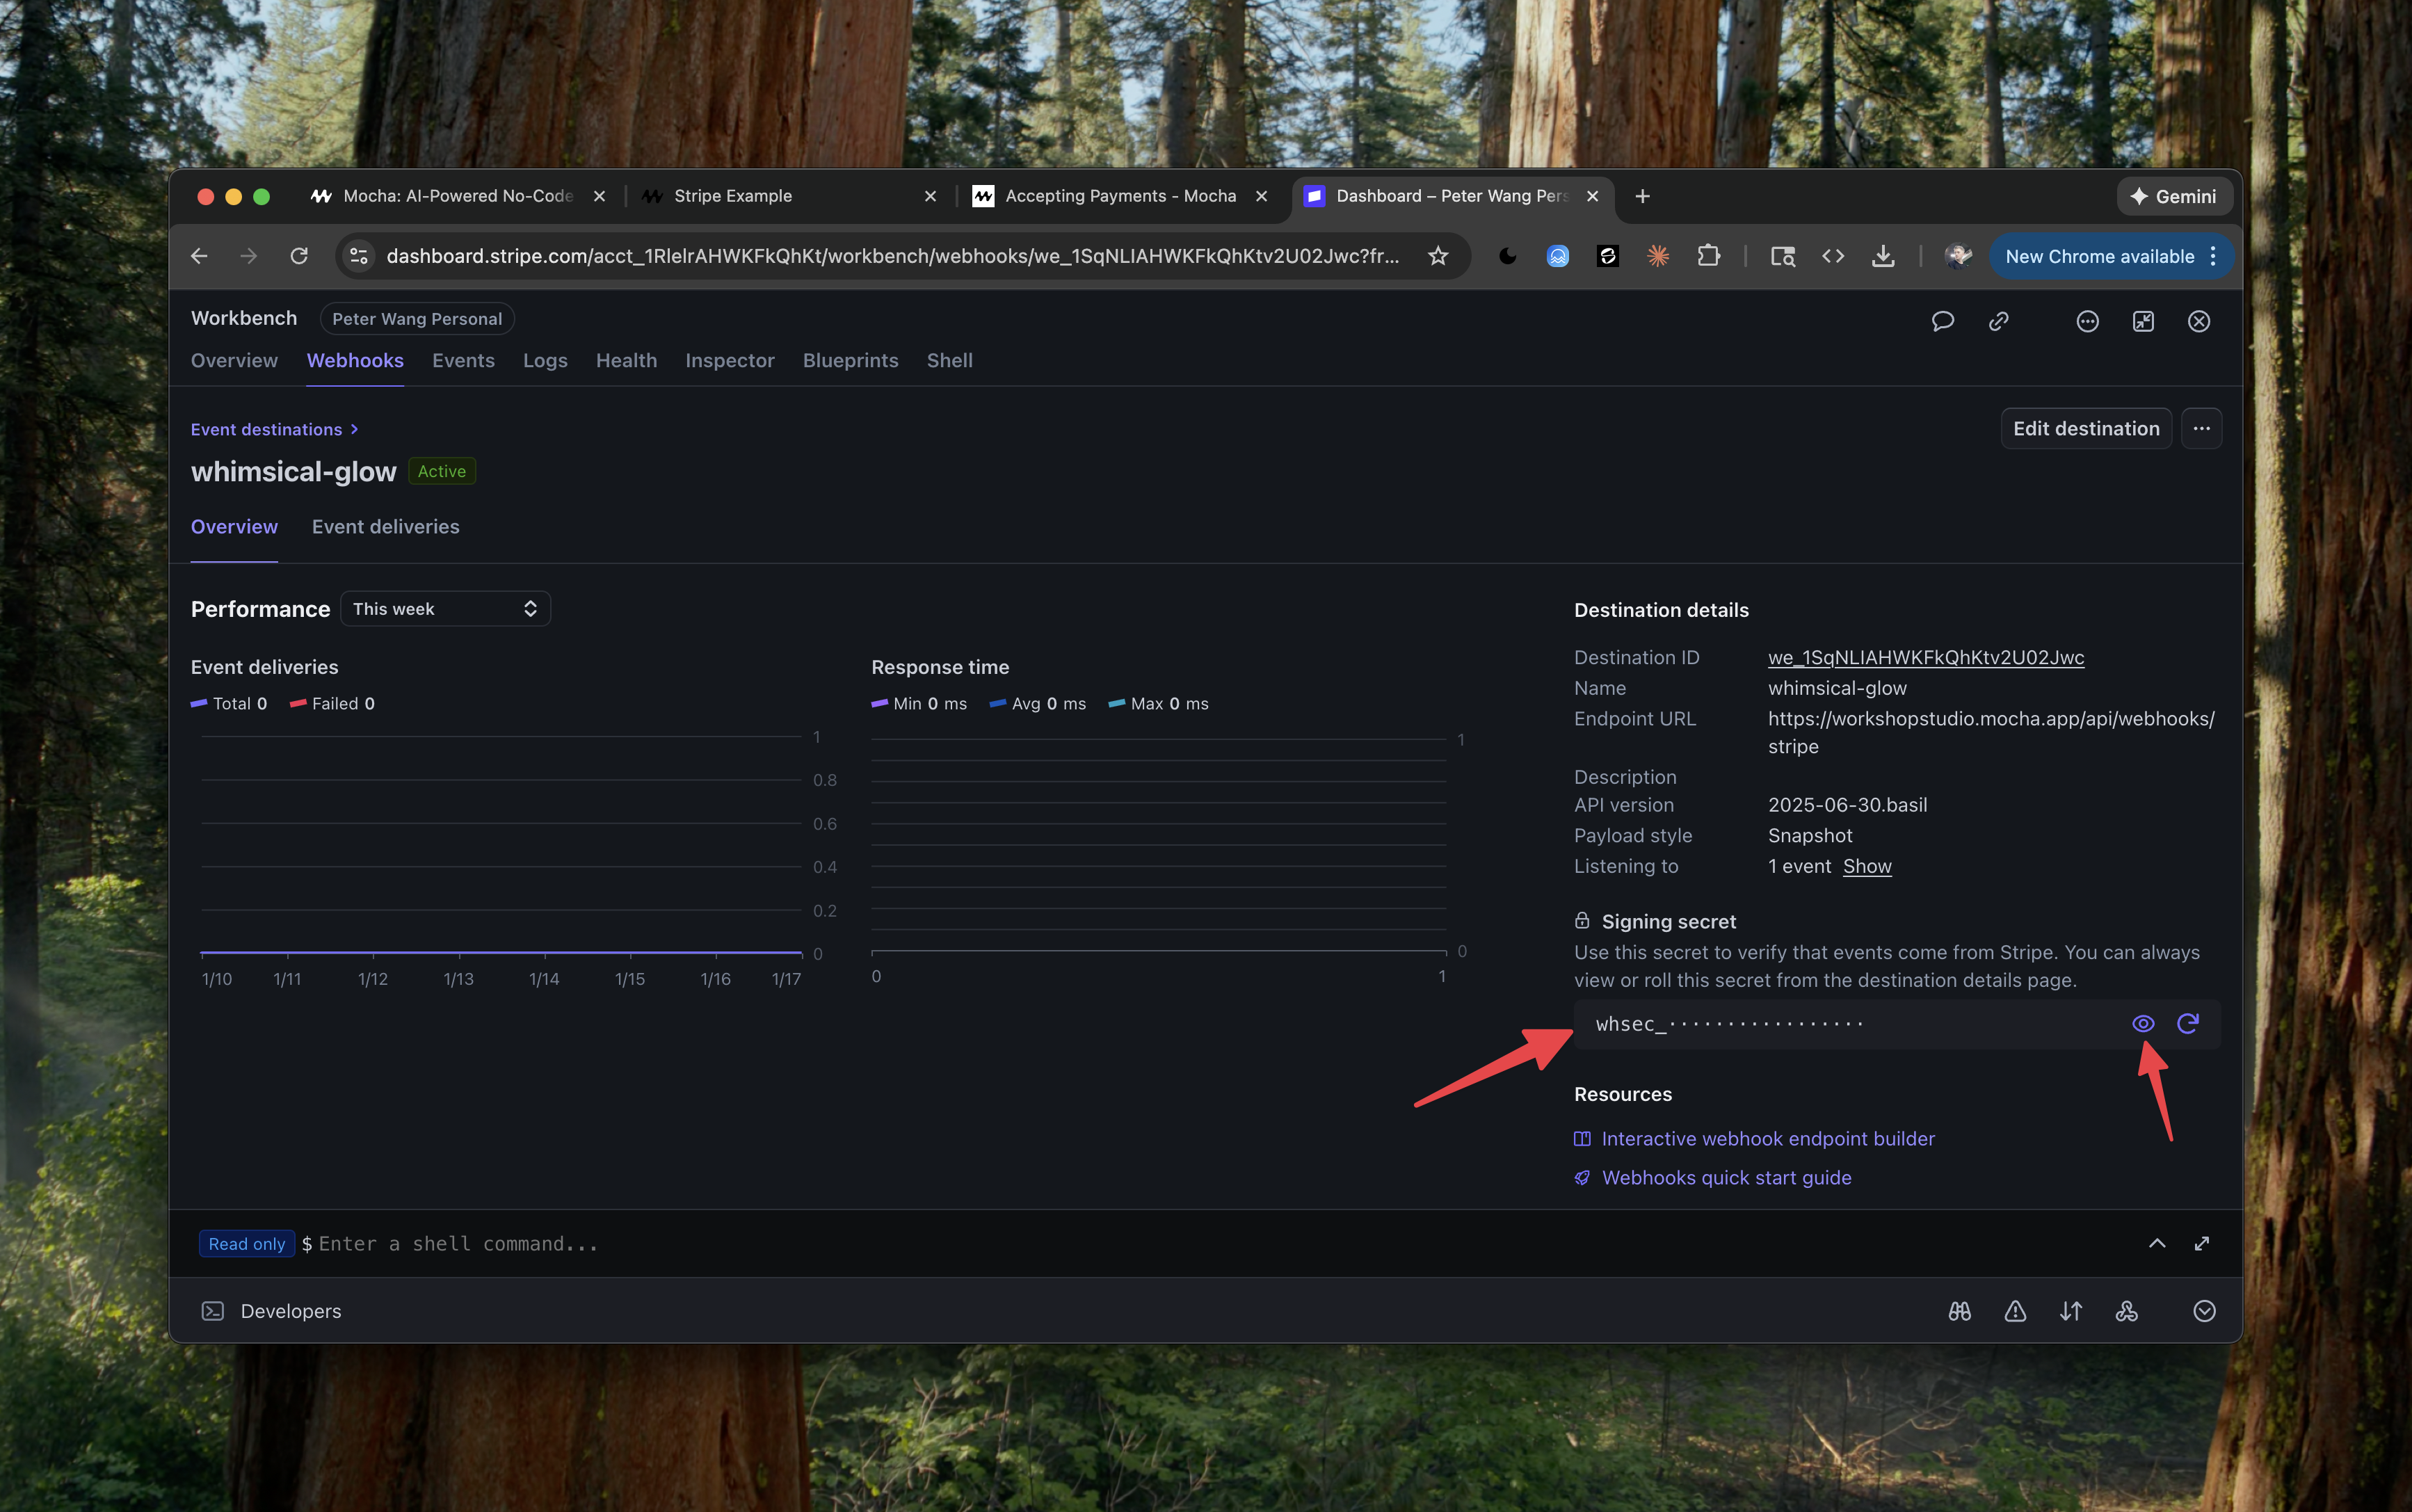
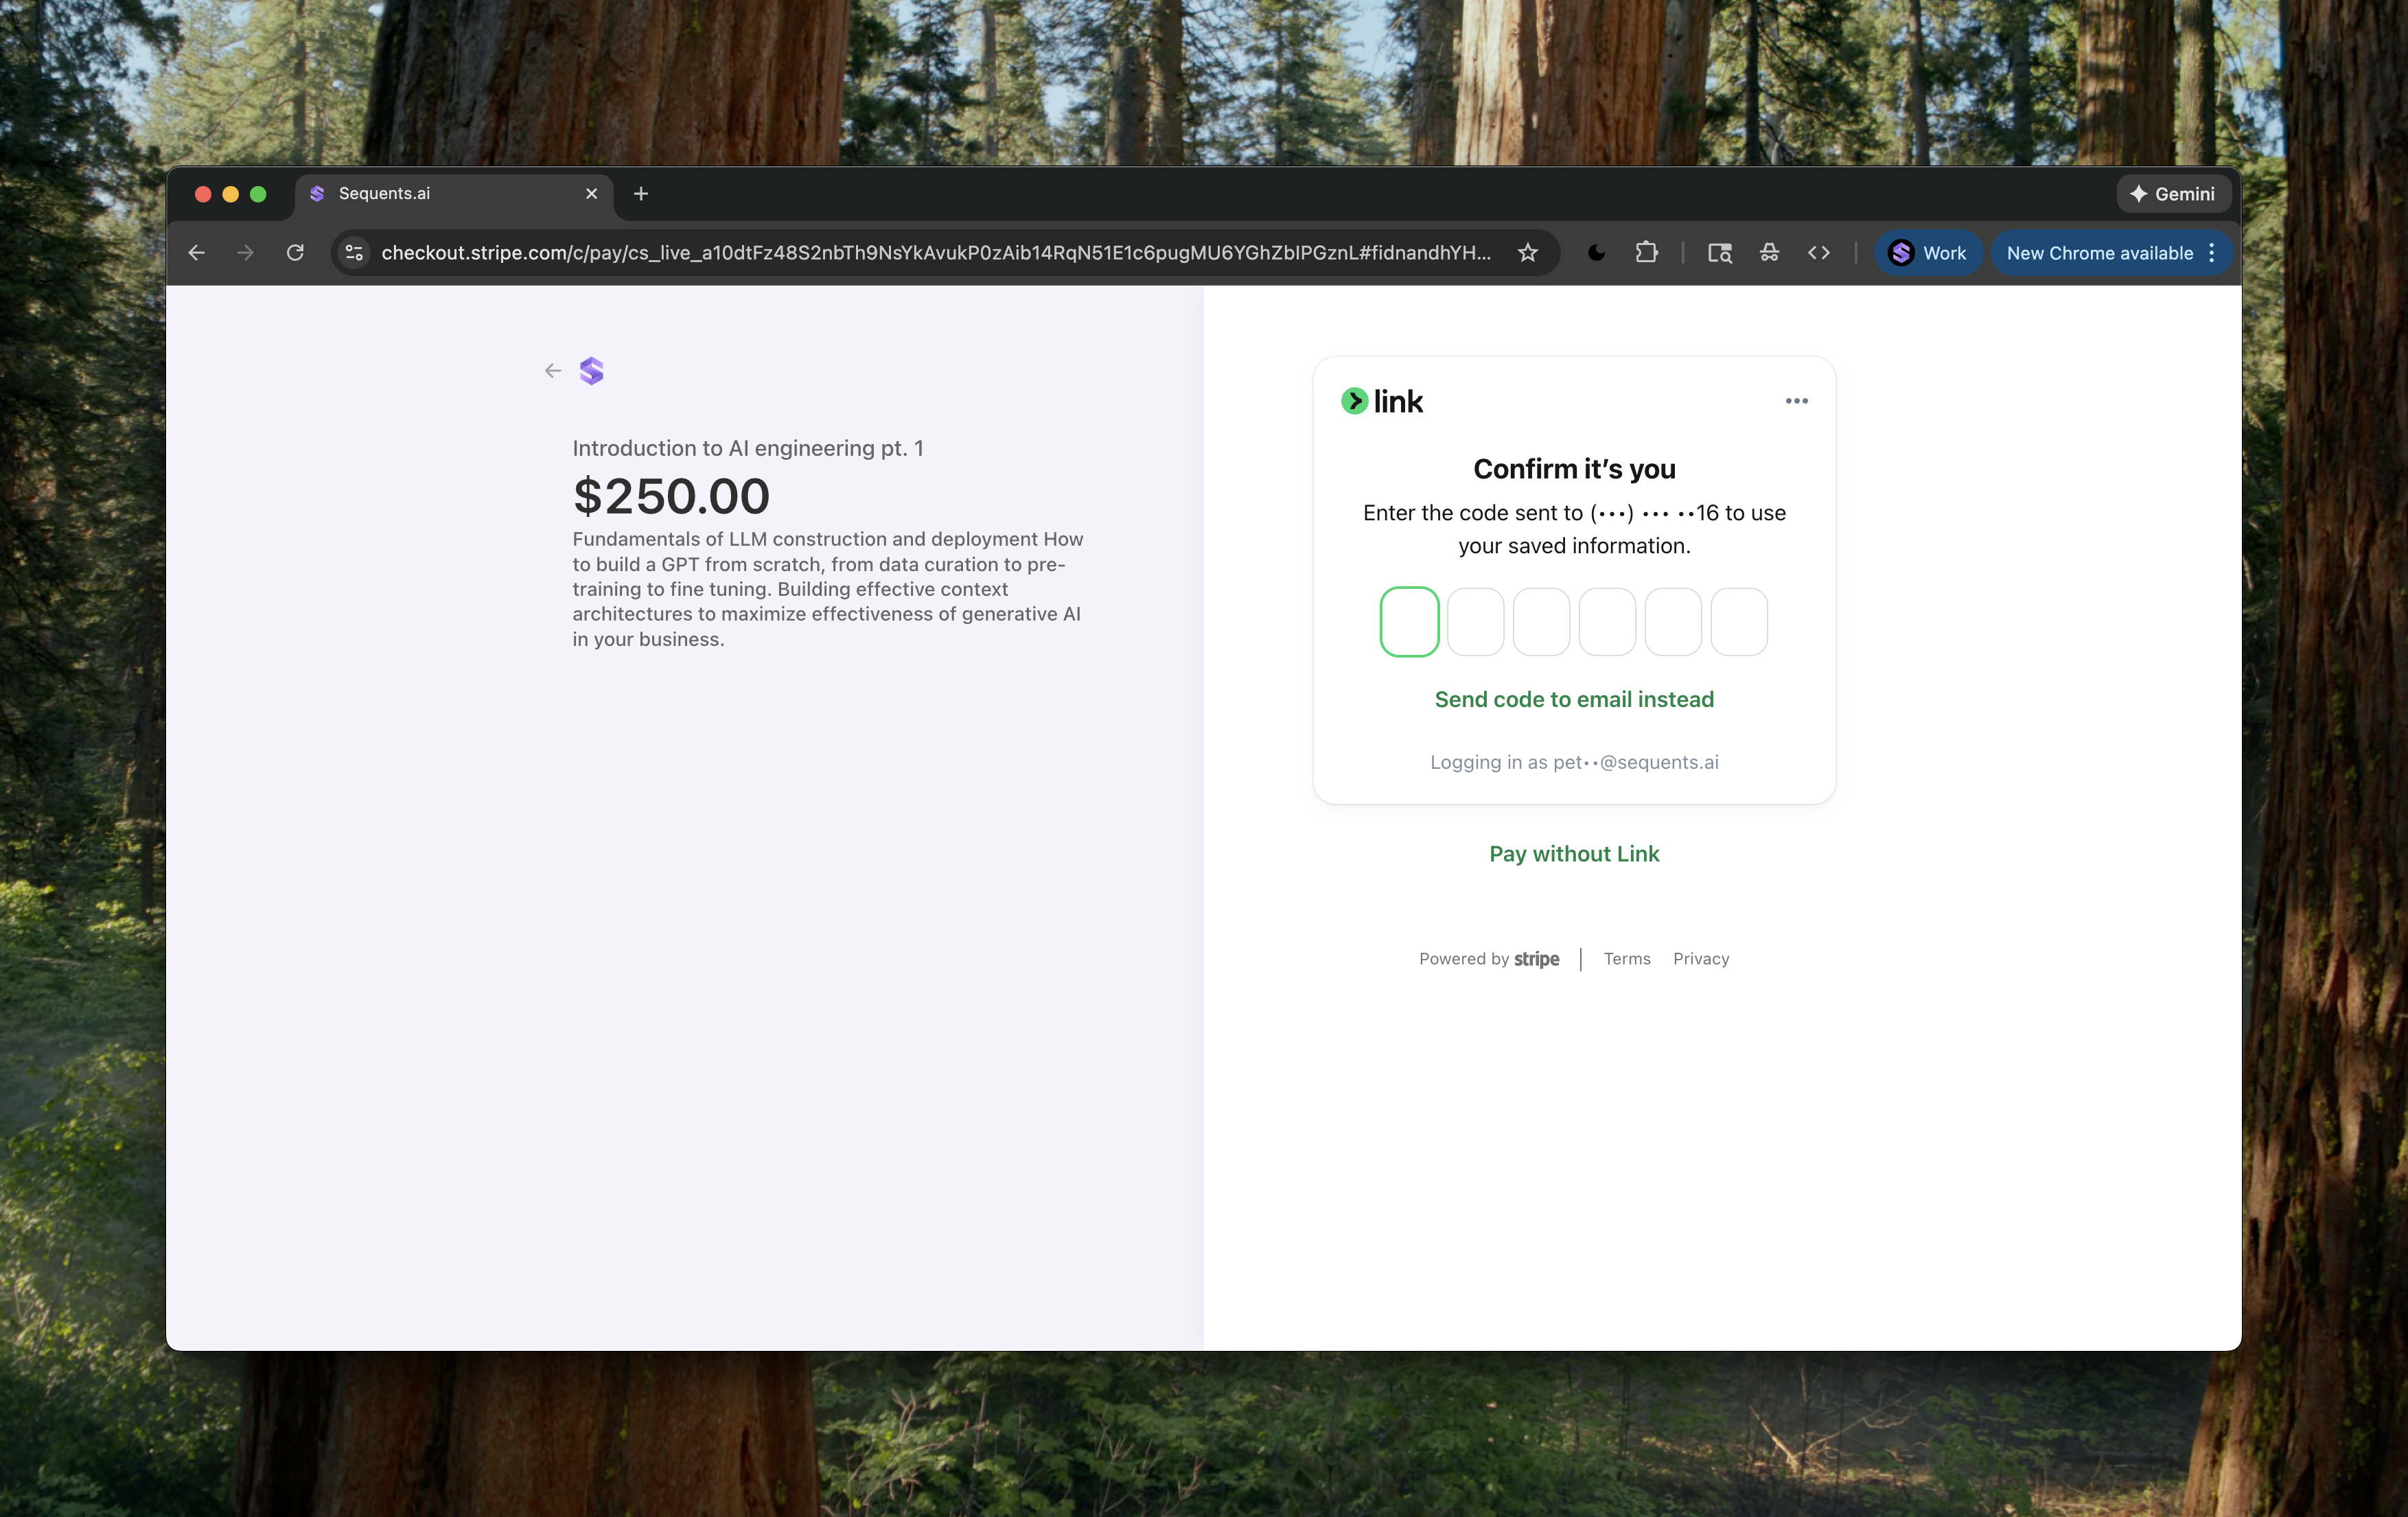
Testing Payments
Once you’ve set everything up correctly, payments should start appearing in your Stripe account from your Mocha app. Test this by using your live published Mocha app and sending payments to your Stripe account.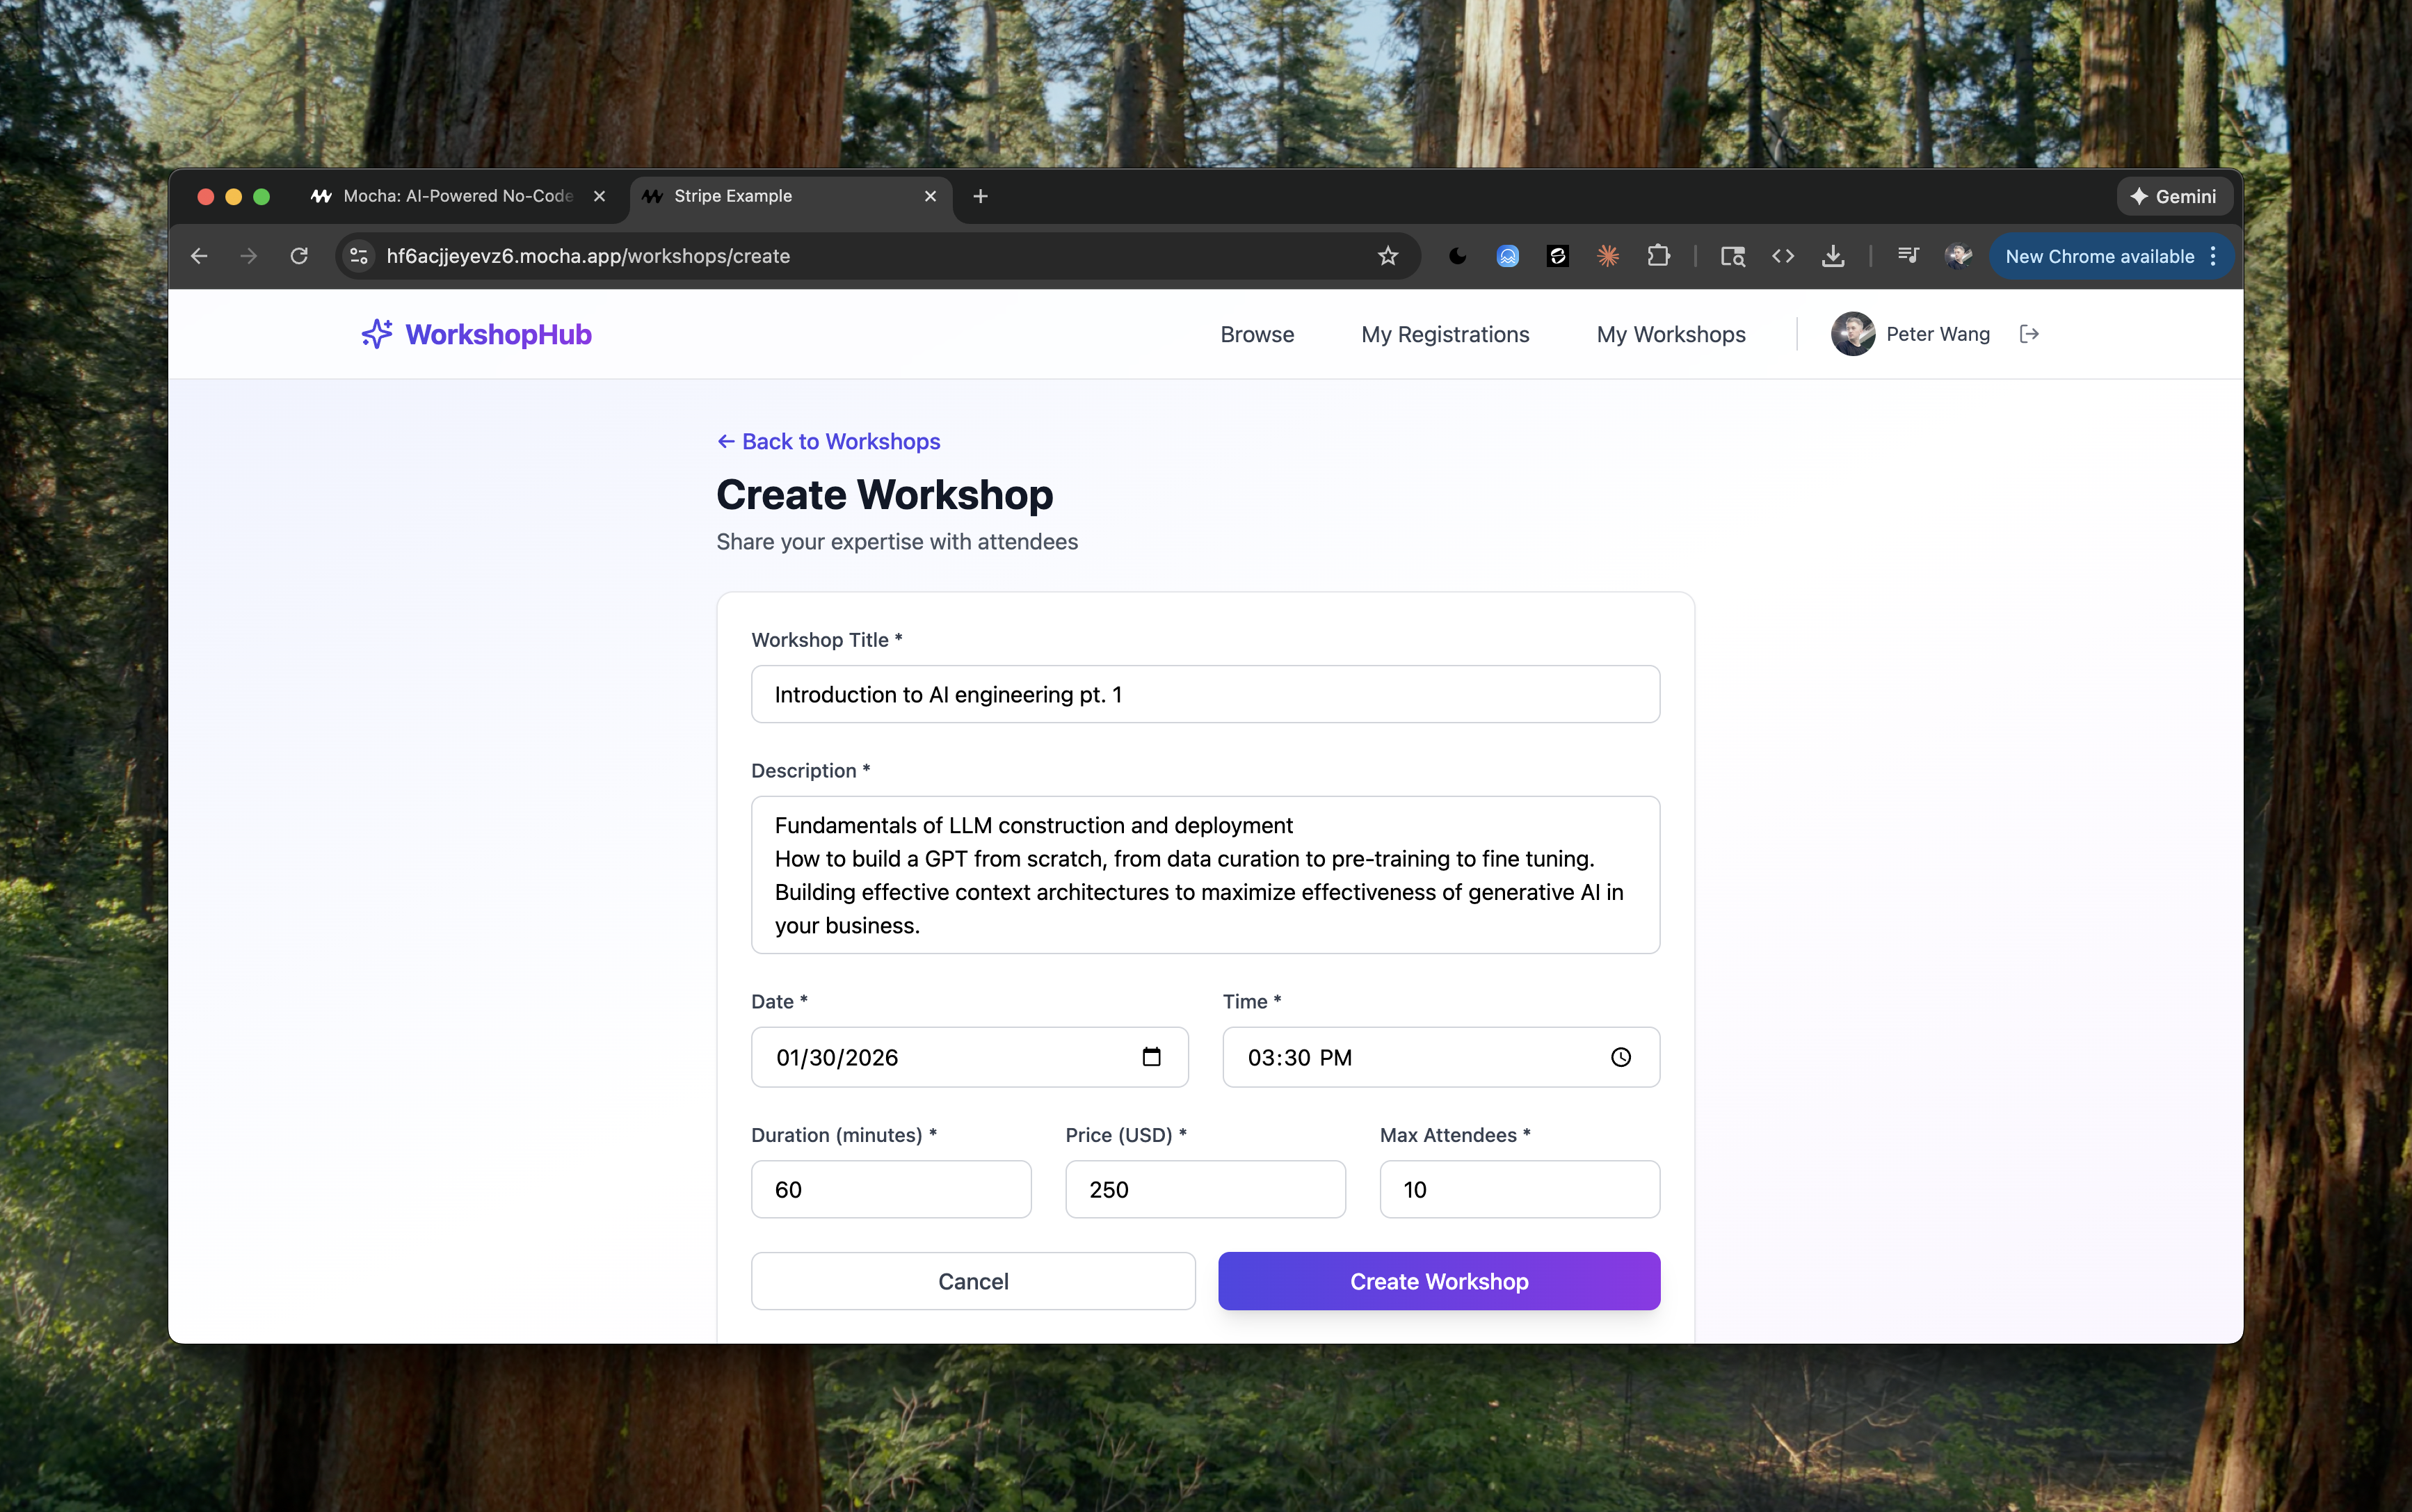
Wrapping up
- Crafting a strong initial prompt
- Setting up Stripe API keys
- Configuring webhooks for payment confirmation